Quick Start Guide
Prerequisites
Before building your first UIEngine project, you will need to install the OAS server. You can find instructions on getting started with an installation here, for Windows, Linux, or a containerized version of OAS running in Docker.
Once the installation is complete, open a web browser and enter the URL of your server. Replace localhost with the IP address or registered domain of your server. This is the login URL we will use in Step below.
http:/app/uiengine
You should now see a login screen that looks like... 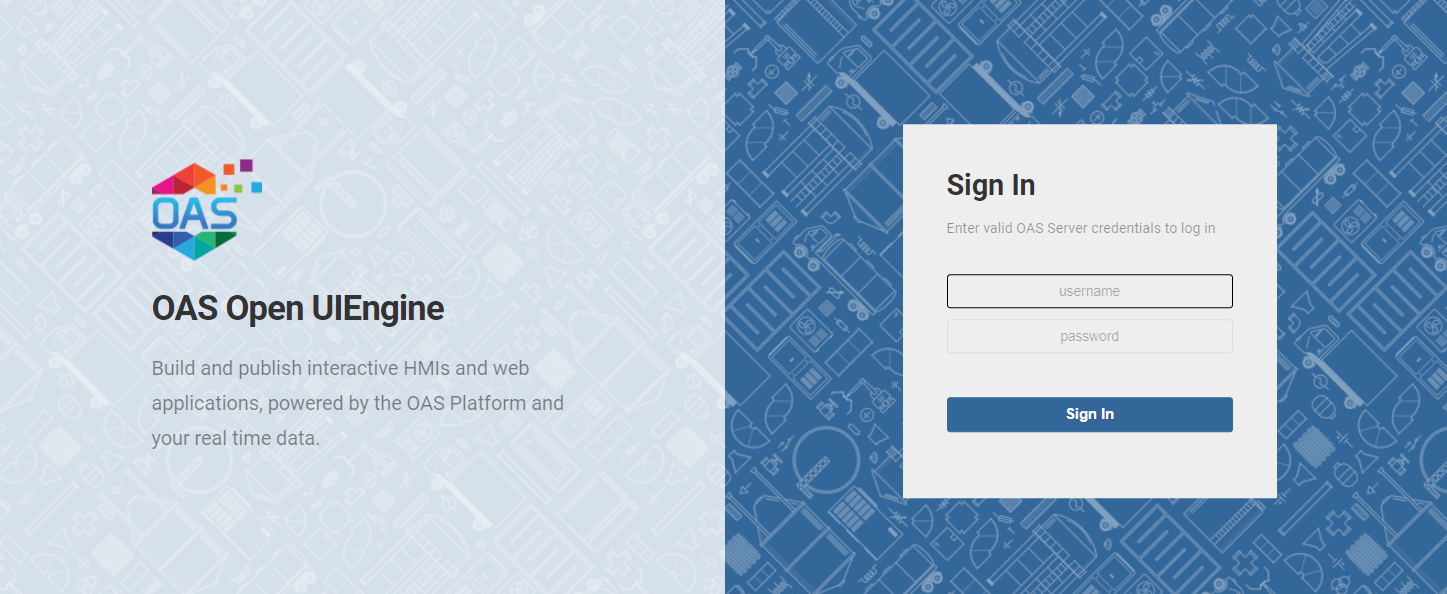
If you see this screen with a Sign In prompt, your server is up and running and ready to be configured.
Good job!
Configure Security
Open the OAS Configuration tool installed on the server to create a security group and user that will be used to log into the UIEngine.
Create a Group
From the top-level menu, select Configure > Security and if not already connected, enter the location of the OAS server you'd like to configure and then click .
Enter a name for the Security Group you'd like to create in the field. This can be anything except Default, which is a reserved group name. As a suggestion, use UIEngine Admins or something you will recognize as related to this exercise.
Next, click to set this security group as a top level admin group. This will grant the group access to read and write all data on the server.
TIP
In production, you will usually limit access rights for this group to only what it needs to access, but for this exercise this setting will reduce any potential issues. Read more about how to secure your production OAS environments.
Finally, select the UIEngine tab and make sure the Access Level is set to Admin.
Click and your new security group will be added to the list.
Create a User
Now select Configure > Users to create a new login credential.
Enter a User Name and Password that you can easily remember, and select the Security Group you previously created.
Click **Add User** and your new user will be added to the list.
Create a Project
With the new User, you can now log into the UIEngine by opening your browser to the address mentioned above.
http://localhost:58725/app/uiengine
Where you will enter the username and password of the user you just created. After logging in, you will see the main UIEngine interface.
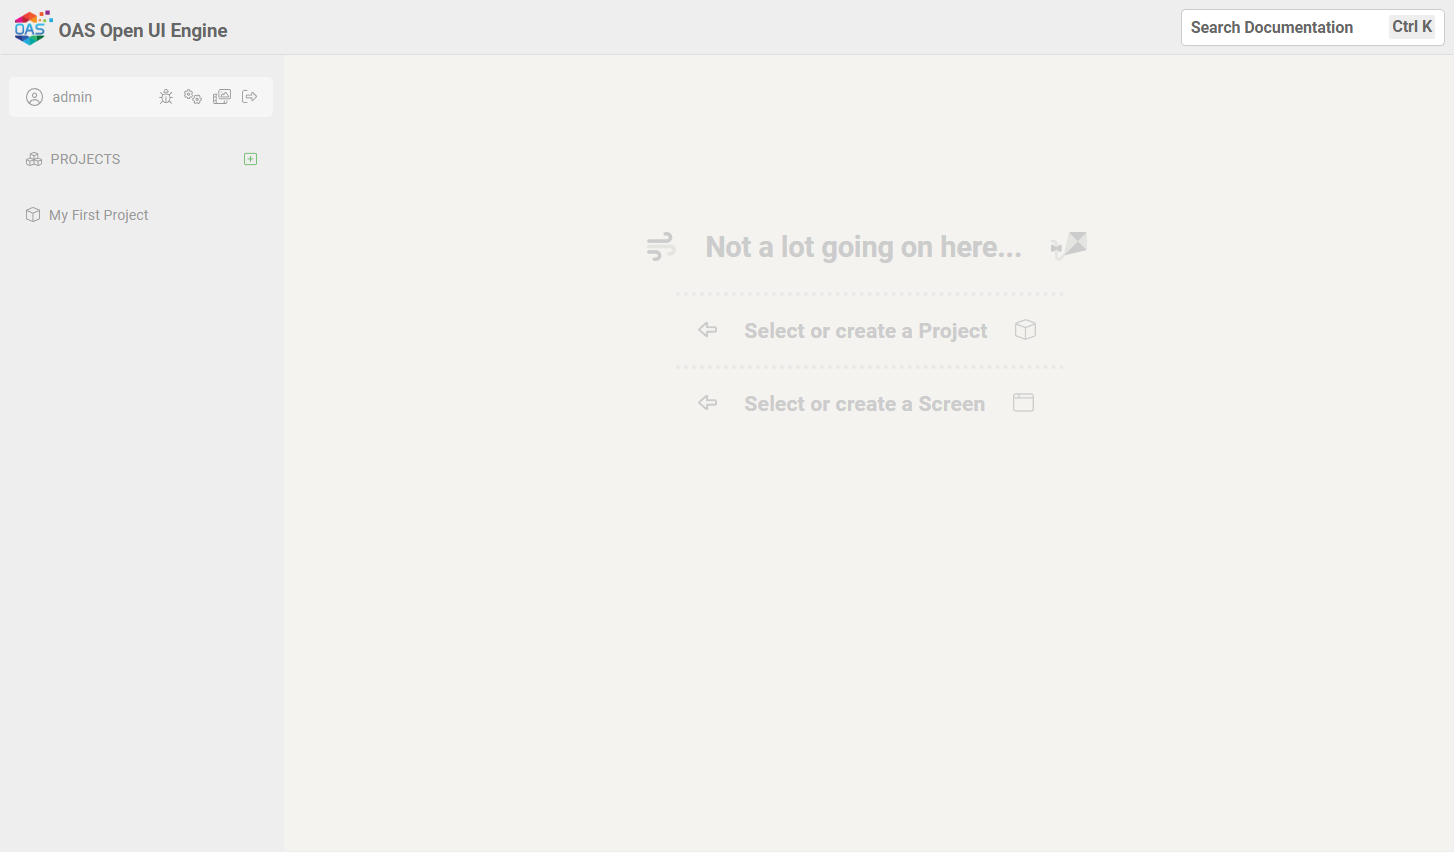
This is the UIEngine Editor. In the sidebar, below Projects, you will see an empty project named My First Project.
TIP
We'll be using this project for the rest of the tutorial, but you can click the icon to add a new Project at any time. Projects are a collection of Screens and make it easy to organize your server. You can have any number of projects saved on your server and can apply security to each one separately.
Click on the project name to select it, and you will see the available actions.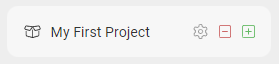
- Configure Project
- Delete Project
- Add Screen
Click the icon and name your new screen "My Screen". After you create the screen it will be listed under the Project title:
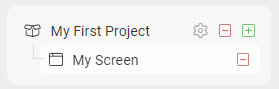
Now you can click on it will be selected and displayed. This is where you will edit what will be shown on the screen when a user enters that Screen's URL directly.
Set up some Tags
TIP
Tags are a core concept and functionality of the OAS Server. Learn more about the what Server Tags are and how they are used.
Back in the OAS Configuration App, we'll set up some Tags to use for displaying data and controlling behavior. If this is a fresh install of the OAS server or you have not removed the demo tags, you can skip this step. If not, we'll be creating 4 new tags. The process for creating and configuring tags is the same for all 4. This table lists the Tags and parameters we'll be setting:
| Tag Name | Data Type | Data Source | Simulation Type |
|---|---|---|---|
| Sine | Double Float | Simulation | Sine |
| Ramp | Double Float | Simulation | Ramp |
| Random | Integer | Simulation | Random |
| Pump | Boolean | Value | n/a |
Create or check that all 4 tags are on the server. In the Configuration App, select , then right-click on the root Tags group in the left sidebar and select , providing the Tag Name above.
Set the additional fields, making sure you click when you've finished.
Add Components
While developing screens, the UIEngine tool works in two different modes:
- Run Mode This is the normal run-time mode where the screen and its components are operating and displaying data from the OAS server.
- Edit Mode This is the design-time interface where you can add and customize components for display on the screen during Run Mode.
To toggle between Run and Edit modes, click the icon in the top navigation bar.


Notice that when in Edit Mode the Component Toolbox will slide into view on the right side of the Screen.
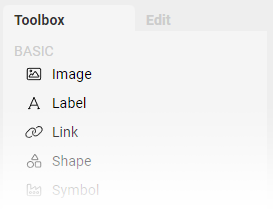
Clicking on a Component in the Toolbox will add that Component to the Screen. Try this out by clicking the tool, which will create a new Label in the top left corner of the Screen. You will see a blue bounding box surrounding the label indicating that it is selected and can be repositioned, resized, or edited. Give that a try, moving the Label to a new position on the screen.
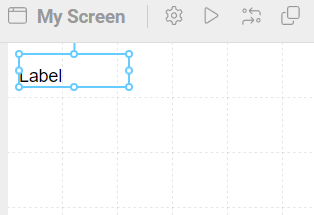
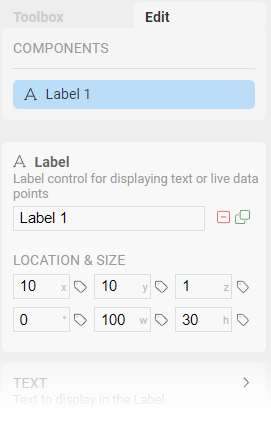
You will see the Edit Tab in the right panel displaying the configuration parameters for the label component you added. You can drag components into position, or if you want to be precise, you can enter exact coordinates in the
TIP
You'll notice that the new Label is named Label 1. As you add more of the same Component, a number will be added such as Label 2, Label 3, and so on. You can rename any Component so they're easier to find in the Component list.
All the components displayed on the screen will appear in a list under the tab on the sidebar on the right. You can choose a component by either clicking on it directly on the screen or by locating it in the list and selecting it. This feature is especially useful when dealing with complex screens that contain multiple components, some of which may be overlapping or layered.
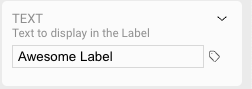
Let's change the text of the label. On the sidebar, click the property section to expand the Text panel and change the label's text. Let's change it to "Awesome Label":
Data Driven Components
Your Screen now displays a static label that just shows "Awesome label" on the screen, which isn't very exciting. Let's get ready to dive into the real power of an OAS backed data interface and connect the label to data from the server.
Edit the label to change its value to Loading.... For dynamic labels, this will set the label to this message when no data has been loaded to the control.
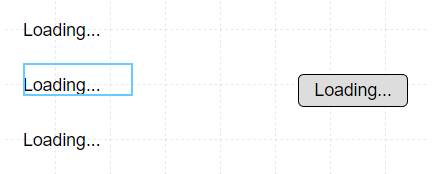
Repeat the above instructions to add two more labels with Loading... as their value, to have a total of three labels.
Next, switch back to the and click the component to add it to the screen, and customize it's value to Loading... as well. Your Screen should now look something like this:
Now we're ready to start configuring the Components and adding some live data to control them.
Wire up your Tags
In the Component Edit panel you may have noticed that several fields have a icon next to them. This indicates the value can be controlled by an OAS Server Tag. Select the first Label, and expand the Text field for editing. Then click on the icon next to the static text that we previously set to Loading...
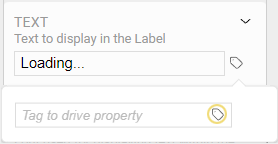
This will display a field showing the current Tag driving the value, which is currently blank. You can set the Tag manually by typing in the Tag name, or you click on the icon in the field to open the Tag Browser, which you allows you to search or navigate for the Tag to use.
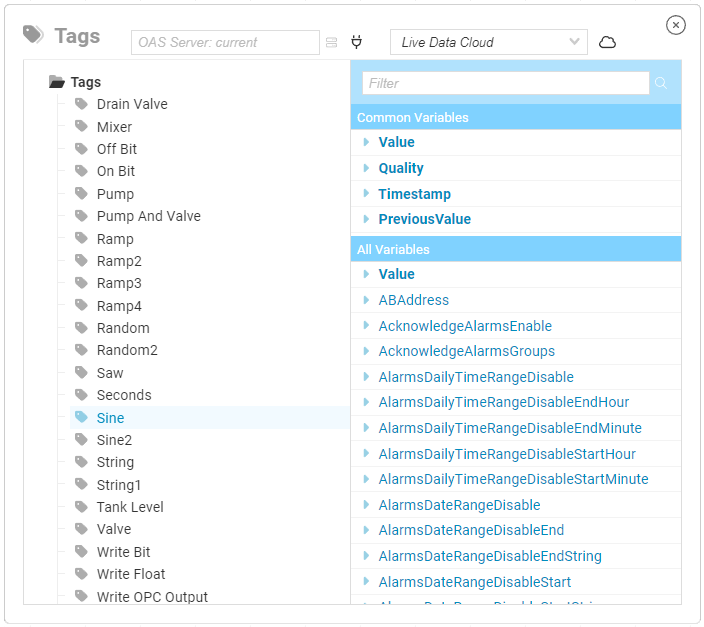
Locate Tag in the list of Tags and select it, then on the right, select the entry under The Text panel will close and the icon will change to , indicating that the property is being driven by a Tag. If you click the icon and open up the Tag settings, it will contain additional configuration options for formatting the text, and the Tag name should be set to Sine.Value.
How each of these properties works is covered in the Reference section of the documentation, but for simple text display of the Tag data, the Tag name is all you need.

Repeat this same process for each of the Labels you created earlier, choosing Random.Value and Ramp.Value for their respective Tag names.
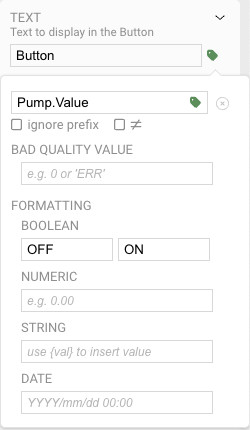
For the Button control, you will select Pump.Value for the Tag name for driving the text. Additionally, instead of displaying False and True in the button, within the Tag properties under BOOLEAN, you can set the text to display for each state, such as OFF and ON. Your button properties should look like this when done:
Wiring up the Button Click
At this point, the Components will only display live values, including the Button. But Tags aren't unidirectional. Using the Button, we can wire it up to modify a tag when pressed. To get started select the Button you created and open the panel at the bottom of the list.
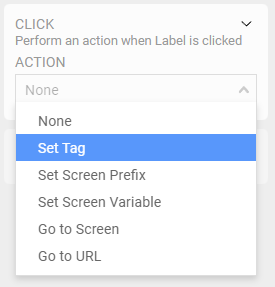
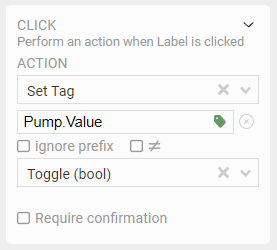
Under , select , which will expose addtional parameters. Set the Tag name to Pump.Value, and in the second dropdown choose Toggle (bool). This will configure the button to alter the Pump.Value on the OAS server, toggling the value to the opposite state.
Now you're all set to see it in action!
Run!
In the top menu of the Screen, click the icon to return to . When you do this, the UIEngine will start receiving data updates when any tag value changes, and apply those changes to the Components you've configured.
Your Screen will look something like this:
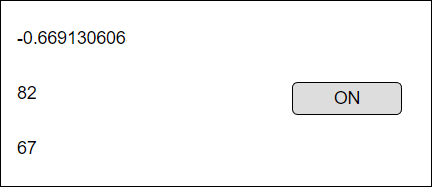
Clicking the Button will toggle the Pump.Value, and the text should toggle between OFF and ON.
TIP
You can confirm that the OAS server is driving that text by opening the OAS Configuration App, selecting Configure > Tags, choose the Pump Tag and see the current value being displayed. Click your Button in the UIEngine Screen, and watch the real time value change on the server.
Congratulations! You've just created your first UIEngine application
But wait...
there's more...
BONUS: COLORS
In most cases, you would want to provide a strong visual indicator for when a value changes. For example, when the Pump.Value is false, in addtion to setting the text of the button to OFF, you could set the background color to red, and then set it to green when the value is True.
To do this, return to and select the Button.
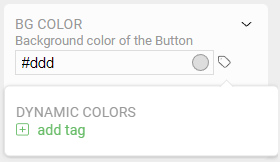
Open the panel and you will see the current color is a boring gray with a value in HTML hexadecimal format of #ddd. You will also see a small color sample showing you what that value looks like. Just like the default property setting this field will set the default color of the button.
Gray is boring and not very helpful to the user, so let's set the color of the button to use the same Pump.Value that drives the Text.
Click the icon to set a Dynamic Color and click to control the background color. Set the color by clicking the color swatch to open a color picker and then choose a nice green.
Next, click the icon in the OAS Tag field, and use the Tag Dialog to select Pump.Value for that color. This tells the UIEngine that when Pump.Value is True, the background color of the button should be green.
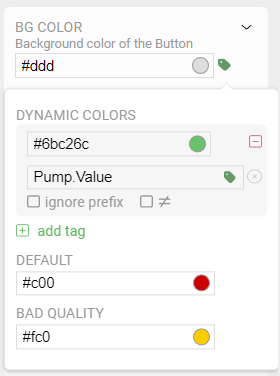
You can also set colors for when the Tag is not True. This is labeled as the Default, and should be preconfigured to be red. There is also an option for setting the color when there is bad data quality, and this should be preconfigured to be yellow.
WARNING
Bad data quality can occur when the data source (such as a PLC) cannot be reached by the OAS server. It will also report bad data quality if the tag value cannot be converted to the Data Type of the tag. For example, trying to set a numeric Data Type with non-numeric characters.
Once you've selected the colors and set the Pump.Value in the tag field as you see above, you can return to Run Mode and should see your screen now looking like this:
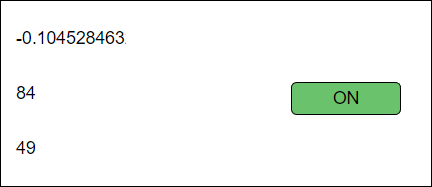
Click the Button and now it should change from green to red and back again.
Congratulations
Building on these basics you will be able to start building more complex applications. Here are our suggestions on what to learn next:
- Check out some more complex Demo Projects to better understand the full capabilities of UIEngine.
- Dive into the Reference Section to learn about individual components and their uses.
- Learn more about the OAS Platform and its capabilities.
- And if you have any problems or questions, don't hesitate to reach out.