Getting Started – Tags
Tags are used to define data source communications, alarm limits, and other real-time signal properties like Time On and Counts for keeping track how long a point has been on and how many times it has transitioned in a given period. Tags are common data sources to all clients. Data Sources can be setup to communicate with Modbus, Allen Bradley, Siemens controllers, MQTT, and OPC Servers.
To use data directly from a Visual Studio application use the default data source of Value as a fixed value that can be changed using the OPC Controls Data component. Tags can also be used to setup Calculations from other local and remote Tags.
The following section is how to manually add and define Tags using the Configure OAS application. Tags can also be added and modified using the CSV Import and Export selections using the Configure-Tags application to use Excel or other third party Comma Separated Variable editor.
To learn how to programmatically add or modify Tags from your own Visual Studio application refer to the following article on how to add and define multiple tags with one method:
OAS System Config – Get and Set Tag Properties
For a complete list of all Tag properties refer to the OAS Configuration – Tags section in this help file./sdk/articles/oasconfig04.html
Please view the Getting Started with Open Automation Software Video to familiarize yourself with installation, setting up Tags, selecting Data Sources and Destinations, and implementing Networking and Security.

Step 1

Start Configure OAS application from the program group Open Automation Software.
Step 2
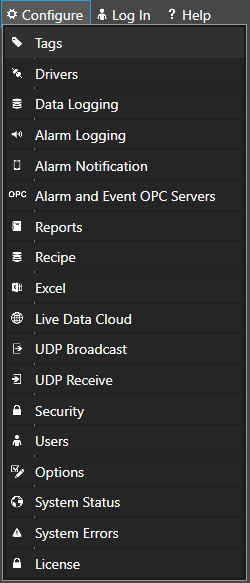
Select Configure-Tags.
Step 3
Select the Local OAS Service by selecting the Select button.

Note: The Configure application can be used to connect to remote systems using the network node name or IP address of the remote node the OAS Service is running on. Simply enter the IP Address or network node name of the remote OAS Service you wish to connect to and click on the Select key.
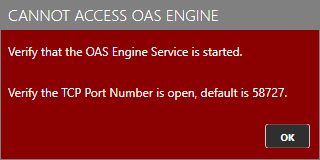
Note: When selecting a service if you receive a warning dialog that the service cannot be retrieved make sure the OAS Service, OAS Data Service, and OAS Database Service are started as described in Start Service.
Step 4
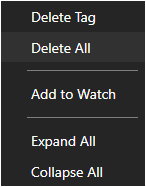
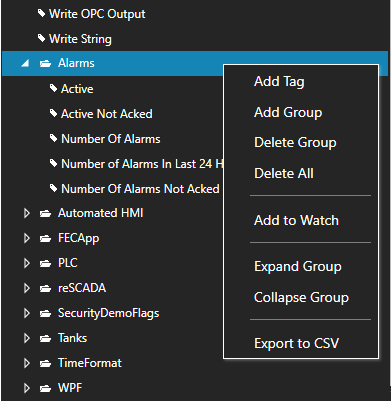
If you already have the default Demo Tags loaded you can right in the list of tags to the right to Delete All Tags.
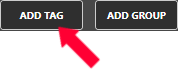
Click on the Add Tag button located at the top of the Tag browser.
Note
You can also add organizational Groups as many levels deep as you prefer and add tags to groups. To do this first add a Group to the root level, then right click on the Group in the right window to add additional Groups or Tags.
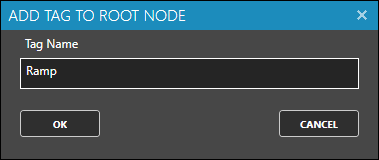
Step 5
Enter the Tag name Ramp in the Add Tag dialog box.
Step 6
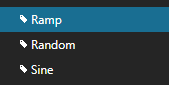
Repeat Steps 4 and 5 with Tag name Sine.
Step 7
Repeat Steps 4 and 5 with Tag name Random.
Step 8
Select Tag Ramp in the right Tag window.
All Tag properties will appear in the lower window.
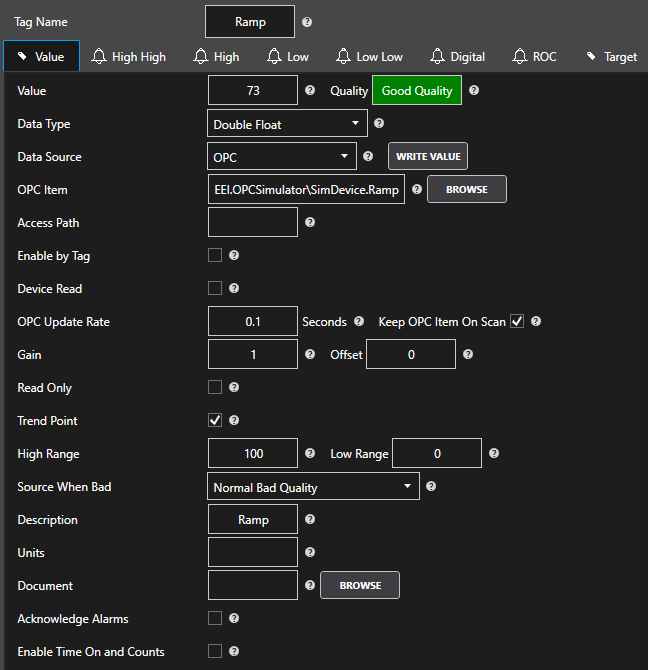
Step 9
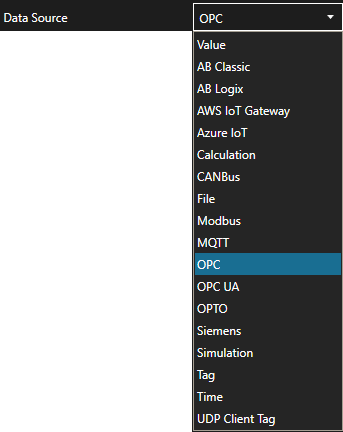
For the Value Parameter set the Data Source to OPC Item.
Step 10
Use the OPC Browse button at the right of the OPC Item to browse OPC Servers.

Step 11
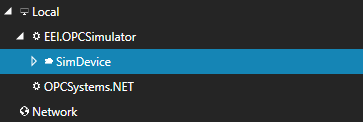
Expand Local to expand EEI.OPCSimulator and select SimDevice.
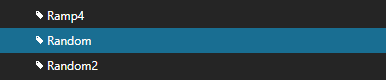
Step 12
Select Ramp from the list of OPC Items and select OK to enter the OPC Item EEI.OPCSimulator\SimDevice.Ramp.
Step 13
If you plan to use trending on this point enable the Trend Point option in the upper right of the Tag Properties window.

Step 14
Set the Description field to Ramp.
Step 15
Select the High High Parameter and set the Value field to 80 and enable the High High alarm.
Step 16
Select the High Parameter and set the Value field to 60 and enable the High alarm.
Step 17
Select the Low Parameter and set the Value field to 40 and enable the Low alarm.
Step 18
Select the Low Low Parameter and set the Value field to 20 and enable the Low Low alarm.
Step 19
Select the Apply Changes button in the lower right corner.

Step 20
Select Tag Random and the Value Parameter.
Repeat Steps 8 through 14 and Step 19 substituting Ramp for Random as Tag name and OPC Item name.
EEI.OPCSimulator\SimDevice.Random.
Step 21
Select Tag Sine and the Value Parameter.

Repeat Steps 9 through 19 substituting Ramp for Sine as Tag name and OPC Item name. Use 0.9 for High High Value, 0.8 for High Value, 0.2 for Low Value, and 0.1 for Low Low Value.
EEI.OPCSimulator\SimDevice.Sine.
Step 22
Select the Save button on the toolbar at the top.

Step 23
Create a directory on the local C:\ drive with the name OASDemo.
Save the file DemoTags.tags in the directory C:\OASDemo.

Step 24
Under Configure – Options set the Default Tag Configuration File so when the computer restarts the tag file will automatically be loaded.